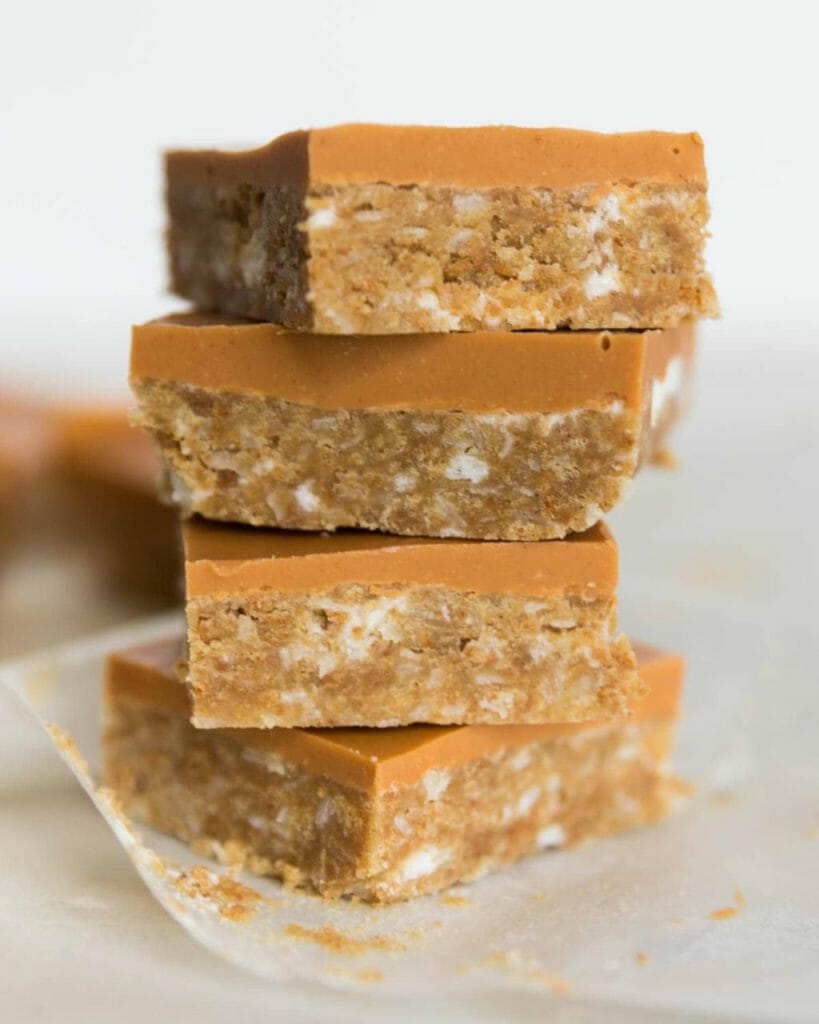
You can hardly find any trace of Food for the Gods in the Philippines from January to November. But for some unknown reason, the classic and chewy treat always finds its way to the list of food gifts for Christmas and New Year. And with a name like that, the expectation is quite high for this holiday treat.
I’m not sure why Food for the Gods is mostly only associated with Christmas; I think it should be as mainstream as brownies or these Butterscotch Blondies. In any case, these bars are often given as gifts for Christmas.
I tried researching online about the origin of its name and nothing credible (aka provable) came up. Several hits suggested that ‘Food for the Gods’ came from the Spanish bread called Pan de Datil that was popularized in the Philippines in the 1900s. Another theory was that the name was inspired by the expensiveness of the ingredients. Dates and walnuts aren’t exactly a dime a dozen in the Philippines, after all.
“Perhaps it’s due to its tempting texture and ambrosia like taste?,” I pondered while I gulped down a bar with a glass of milk. Maybe, maybe not.
This recipe…
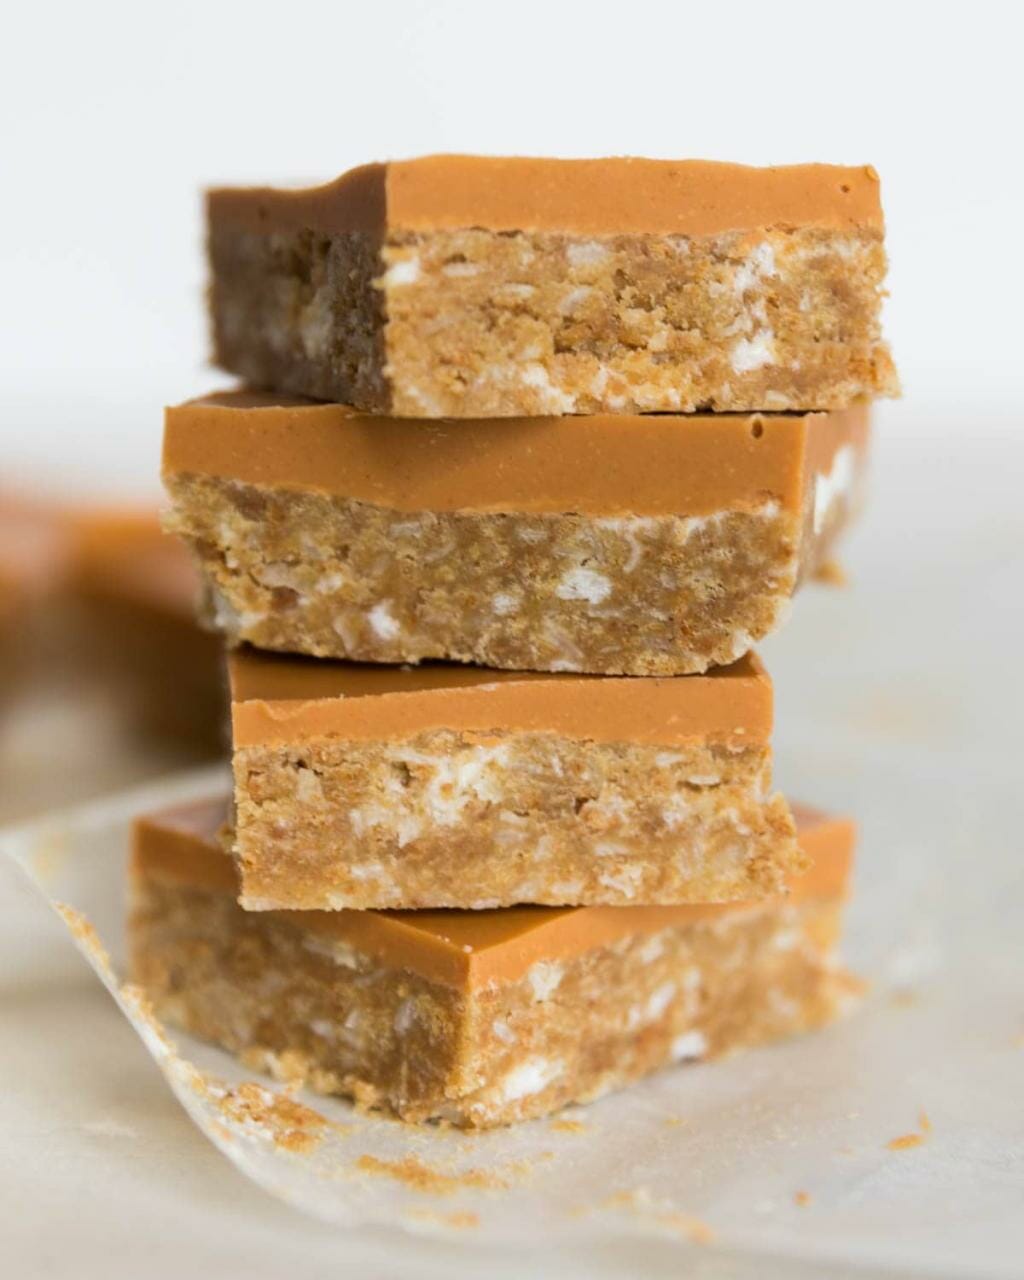
Similar to butterscotch bars, this sweet and nutty Food for the Gods recipe calls for brown sugar and some nuts. The baking method is the same, too. However, what sets it apart and makes it extra special is its trump card, dates. Pitted dates, that is. Walnuts are also typically added but you’re always welcome to add your favorite nuts. Macadamias and pecans would make a great addition, I think.
I had no idea that cutting dates up would be a sticky business. The pieces stuck to each other and I worried that they would clump together when added to the batter. Then I remembered that coating nuts (or dates, in this case) with flour can prevent this. I put the chopped dates and walnuts in a bowl and sprinkled a tablespoonful of flour and mixed them up.
I reserved about a quarter cup of the date and walnut-mixture and sprinkled them on top of the batter just before baking. I think doing this makes these Food for the Gods bars look more visually appealing.
For an extra holiday touch, I added a pinch of cinnamon to the recipe. The scent of cinnamon always gives me a warm, fuzzy feeling for some reason. Traditional recipes don’t have cinnamon at all, but I think it complements the rest of the ingredients quite well.
So, are you ready to bake this treat for the holidays?
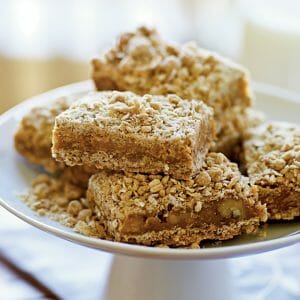
Butterscotch Bars
Ingredients
- 170 grams 1 1/2 sticks butter
- 275 grams 1 1/4 cups brown sugar
- 2 eggs large
- 1 tsp vanilla
- 1/4 tsp cinnamon optional
- 1 tsp salt
- 1 tsp baking powder
- 240 grams 2 cups flour
- 125 grams 1 cup cashew nuts, chopped
- 170 grams 1 cup pitted dates, chopped
Instructions
- Line an 8×8 baking pan with baking paper. Preheat the oven to 180C/350F.
- Sift baking powder and flour together.
- In a small saucepan over low heat, melt the butter until it bubbles and starts to clear up. Continue to cook while stirring with a spatula until it starts to smell toasty and nutty. Immediately remove from heat and transfer to a bowl to cool.
- Add the brown sugar, vanilla, cinnamon, and salt to the butter. Whisk until smooth.
- Add the eggs one at a time, whisking to mix after each addition.
- Fold in the flour, dates, and walnuts until no flour streaks are visible. Do not over mix the batter.
- Pour onto the prepared baking pan and bake for 25-30 mins.
- Remove from the oven and cool before cutting into squares.
Video
Notes
Add pecans, pistachio, or your favorite nuts for more flavor.
Chopped dates are sticky. Mix it in with the chopped nuts or toss it in flour to avoid stickiness.
I had 16 squares in total. However, you can cut them even smaller as each square is quite filling.
How to Make Butterscotch Bars
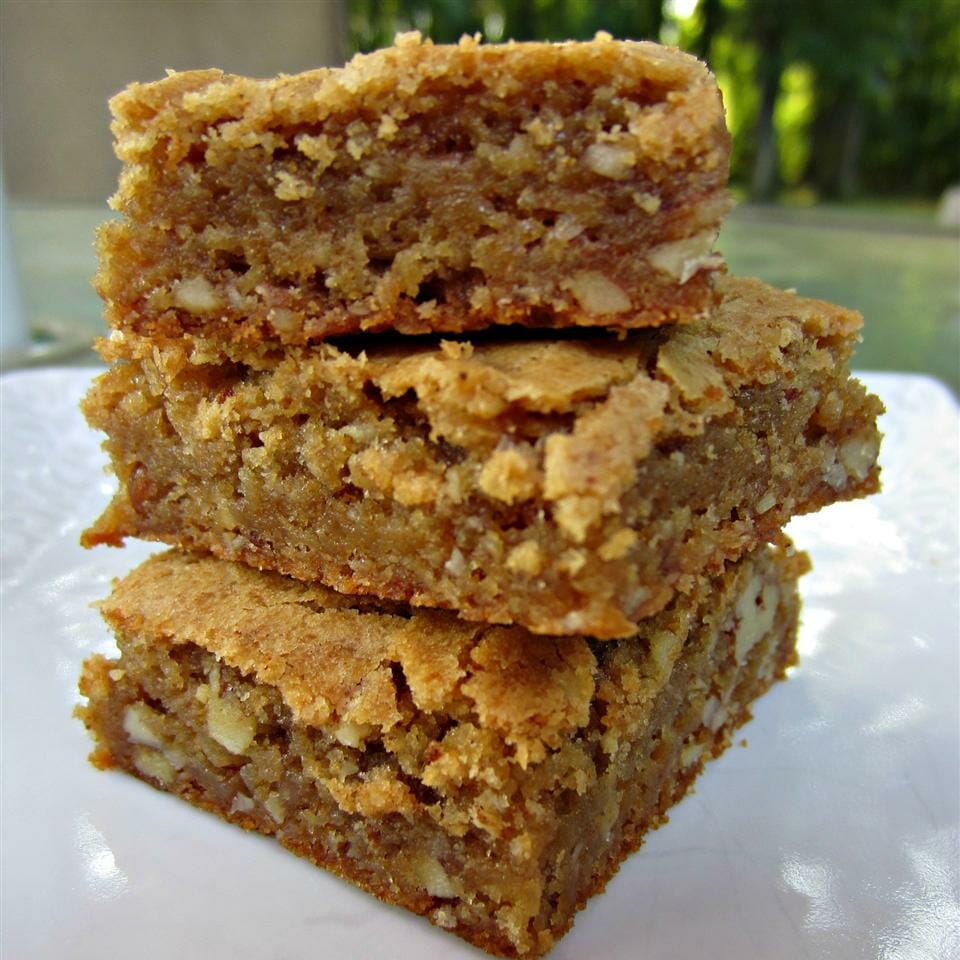
Whether they are homemade or purchased, butterscotch bars are a delicious treat. This delicious chocolate bar can last for up to five days when stored properly in the refrigerator or freezer. Freshly made bars are incredibly firm and may not last for more than a few days. Here are a few tips for keeping butterscotch bars fresh and tasty. Also, check out these recipes: Salted butterscotch apple cheesecake, Chocolate chip butterscotch cookie, and Pumpkin and apple pie bars.
Storage of butterscotch bars
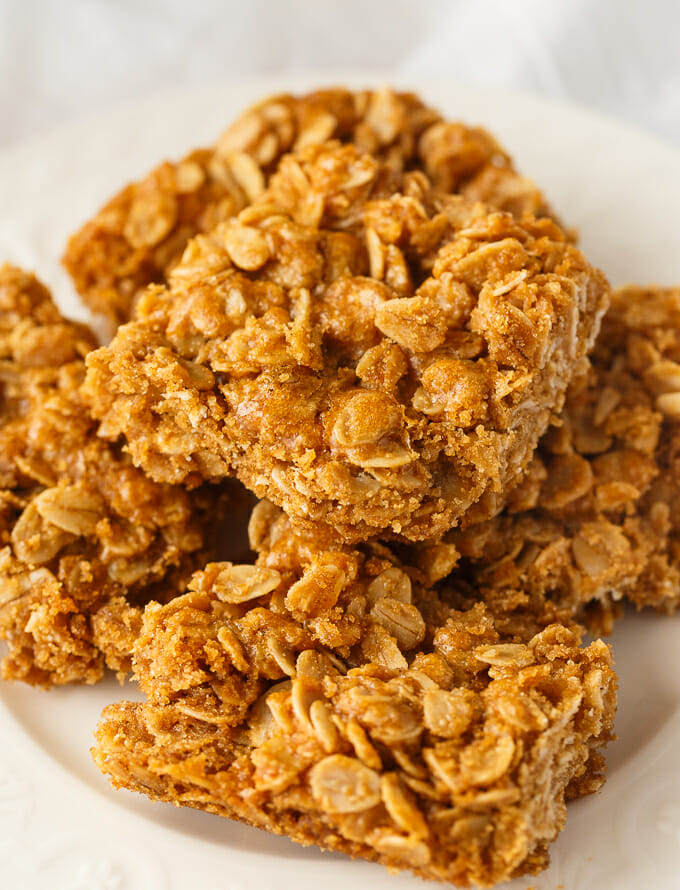
If you like the flavor of butterscotch bars, you’ll want to know how to store them. Butterscotch bars will keep for about a month in the refrigerator, and they can be cut into squares or smaller squares and stored in an airtight container. However, if you want to store them for longer, you’ll need to freeze them for up to a month. After that, you’ll need to thaw them completely before serving.
To store your Butterscotch Bars, you should store them in an airtight container at room temperature or in the freezer for two to three months. You should wrap them in plastic wrap or foil to keep them fresh. Butterscotch can be made up to a week in advance, and you can enjoy them for a week or so after. This is a delicious dessert that the entire family will enjoy!
Ingredients in butterscotch bars
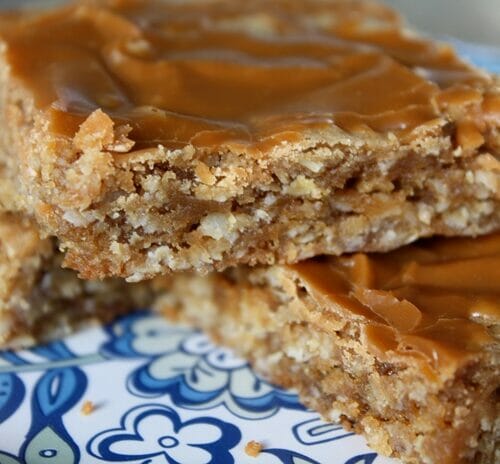
What are the ingredients in butterscotch bars? Butterscotch bars are rich, chewy, and drenched in butterscotch flavour. Traditionally, these sweet treats are topped with whipped cream or toasted nuts. But the good news is, you can make your own at home! In this article, I’ll walk you through the ingredients. Then, you can make your very own butterscotch bar.
To make these delicious treats, combine the butterscotch, brown sugar, and melted butter. Stir well. Whisk in the egg, vanilla, baking powder, and kosher salt. Stir in the flour, marshmallows, and chocolate chips. Add the nuts, if desired. Refrigerate for up to 3 days, or freeze in an airtight container. Thaw before serving. Alternatively, you can eat these bars right away.
If you want softer bars, slightly underbake the bars for 20 minutes before removing from the oven. Bars will firm up as they cool, so be careful not to overbake. Just be sure to keep an eye on them. Once the bars are done, you can cut them into rectangles and enjoy. These tasty treats can be enjoyed by everyone, especially kids. There are few ingredients that make this treat a simple and easy recipe.
Salted butterscotch apple cheesecake bars
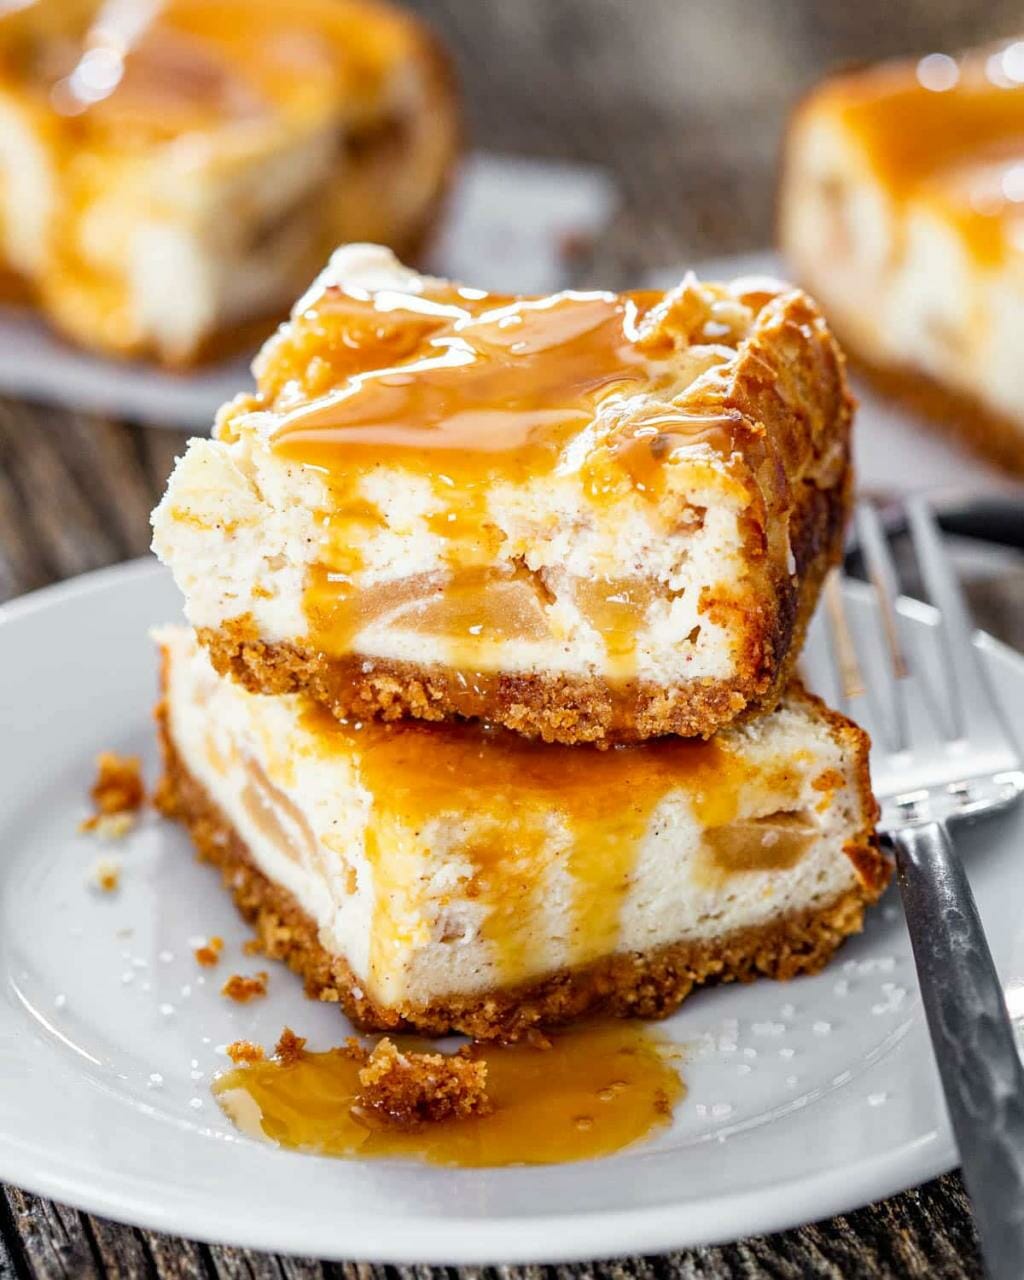
The buttery crust is a nice base for caramel apple cheesecake bars, which are topped with sliced apples and salted caramel sauce. This classic dessert is sure to please any crowd. To make this dessert even more tempting, you can top it with some diced apple. After cooling, drizzle with more caramel sauce to make it extra delicious. These bars are the ultimate indulgence. Make sure to save some for tomorrow!
Prepare the bars at least 24 hours in advance, and then refrigerate. If not using the bars the same day, you can chop the apples up and store them in the refrigerator. Once set, they’ll soften a little, but still taste delicious! Besides, you can freeze them in an airtight container for up to 3 months. These bars are best eaten within two to three days, and they’re also good enough to be frozen!
Chocolate chip butterscotch cookie bars
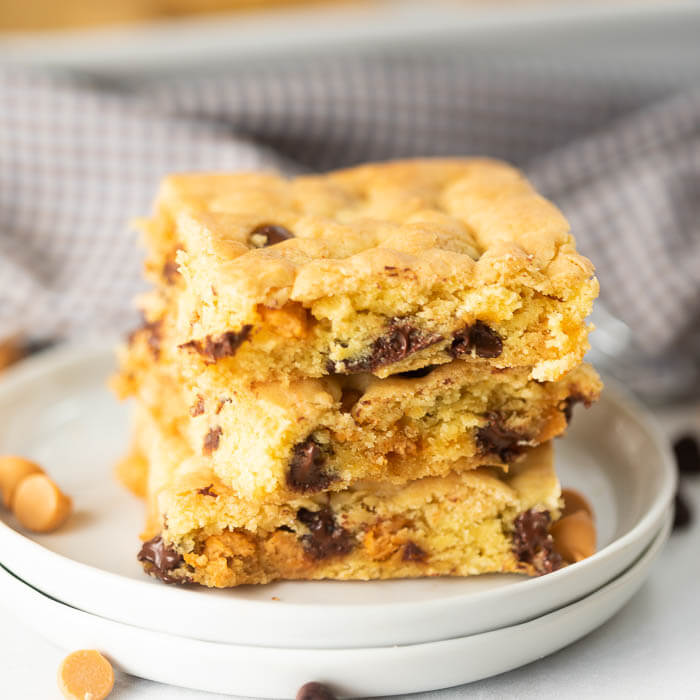
When preparing this delicious dessert, you should use butter to grease a 9×13 baking pan. Once the butter has melted, add sugar and vanilla extract. Then, mix in the flour, baking powder, and salt. Next, mix in the chocolate chips and stir until they are well-incorporated. Finally, bake the bars in the oven for about 20 to 25 minutes, until they are golden on top and pull away from the pan easily. When finished baking, you should cut them into squares.
If you don’t have a stand mixer, you can make these butterscotch cookie bars without one. They are a great option for those who want to enjoy a delicious sweet treat. Butterscotch cookie bars are very moist, chewy, and delicious. You can top them with extra flaky sea salt to add a little extra flavor. These delicious cookies are best when you have a glass of milk nearby.

